Yamaha Moto 4 Battery: Replacement, Maintenance, and Upgrade Insights for Long-Term Reliability
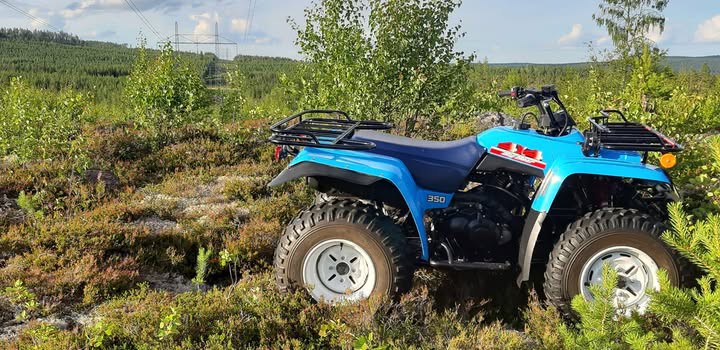
If you own a Yamaha Moto 4 ATV—whether it’s a 200cc, 225, or 350 model—you already know that keeping it running smoothly depends on a dependable battery. These rugged machines were built to last, but their electrical systems still rely on regular attention to ensure consistent starts, proper lighting, and reliable performance on trails or job sites.
In this article, we’ll break down everything you need to know about choosing, maintaining, and upgrading your Yamaha Moto 4 battery—without unnecessary hype or marketing talk—so you can make a smart, informed decision that extends your vehicle’s life and reduces downtime.
⚙️ 1. Understanding Yamaha Moto 4 Battery Requirements
The Yamaha Moto 4 ATV, originally introduced in the 1980s, uses a 12-volt starting battery to power ignition and accessories. The exact specifications vary slightly by model year, but the essentials remain consistent:
- Voltage: 12V
- Capacity: Typically ranges between 7Ah–12Ah
- Terminal Orientation: Left positive (+), right negative (–)
- Dimensions: Must fit securely within the compact battery compartment under the seat
Because of the vehicle’s age and simple electrical architecture, modern replacement batteries must deliver stable cold cranking amps (CCA) and solid vibration resistance. Many older Moto 4 models were originally equipped with lead-acid or AGM batteries, which are inexpensive but prone to sulfation, especially when the ATV is stored for long periods.
🔋 2. When to Replace a Yamaha Moto 4 Battery
Even with regular charging, most conventional ATV batteries last only 2–4 years. Signs that your Moto 4 battery may need replacement include:
- The engine cranks slowly or not at all
- The headlight dims noticeably at idle
- You frequently need to recharge after a few rides
- The battery shows swelling, corrosion, or leaks
A simple voltage test can confirm the issue: a fully charged 12V battery should read around 12.6–12.8V when the engine is off and 13.5–14.5V when running. Anything significantly below these values suggests internal degradation or sulfation.
⚡ 3. Choosing the Right Replacement Battery
When selecting a new battery for your Yamaha Moto 4, prioritize compatibility, durability, and long-term value over initial cost. There are three main types to consider:
| Battery Type | Pros | Cons | Typical Lifespan |
| Flooded Lead-Acid (Conventional) | Low price, widely available | Requires regular maintenance, prone to leaks and corrosion | 2–3 years |
| AGM (Absorbent Glass Mat) | Maintenance-free, better vibration resistance | Moderate price, still sensitive to deep discharge | 3–4 years |
| Lithium (LiFePO₄) | Lightweight, fast charging, long cycle life | Higher upfront cost | 5–10 years |
For those seeking a low-maintenance, high-performance solution, a lithium-based replacement can be a smart long-term choice—especially if your Moto 4 is used seasonally or stored for months at a time.
You can explore options designed for motorcycles and ATVs in our motorcycle lithium battery product line, engineered for reliable starting power, built-in battery management systems (BMS), and long service life.
🔧 4. Installation Tips and Safety Checks
Replacing the Yamaha Moto 4 battery is straightforward but requires attention to detail:
- Disconnect the negative terminal first to avoid short circuits.
- Remove the old battery carefully—watch for acid residue if it’s lead-acid.
- Clean the terminals with baking soda solution and dry thoroughly.
- Install the new battery, positive terminal first, ensuring tight, corrosion-free contact.
- Check that the battery is firmly seated and secured before riding.
After installation, start the ATV and verify stable voltage output from the charging system. If voltage exceeds 15V while running, your regulator/rectifier may need inspection.
🔋 5. Maintenance Practices to Extend Battery Life
Regardless of type, proper care dramatically affects battery longevity:
- Keep it charged: Use a smart charger when storing your ATV for over 30 days.
- Avoid deep discharges: Frequent full drains shorten lifespan, especially for lead-acid units.
- Inspect terminals: Corrosion buildup increases resistance and reduces cranking power.
- Store indoors: Avoid freezing or high-humidity environments during off-season.
If you’re upgrading to a lithium replacement, the maintenance routine becomes simpler—no acid levels to check, minimal self-discharge, and faster recharging.
For a reliable and maintenance-free solution, explore our 12V lithium motorcycle start battery options here:
👉 https://leochlithium.us/12v-motocycle-starts-lithium-battery-2/
🧭 6. Related Reading: Upgrading Other Yamaha Vehicles
If you also operate Yamaha golf carts, you might find this detailed guide helpful:
📘 Replacing Your Yamaha Golf Cart Battery: Here’s What Most People Get Wrong—and How to Upgrade the Right Way
It discusses common pitfalls and upgrade strategies that apply to many Yamaha power systems, including ATV and small-vehicle applications.
✅ 7. Final Thoughts
The Yamaha Moto 4 remains one of the most durable ATVs ever made—but even the toughest machines rely on a dependable power source. Choosing the right battery, installing it properly, and following a consistent maintenance routine will ensure years of reliable starts and strong performance in the field.
If you’re ready to simplify your maintenance schedule and gain longer-lasting power, explore our motorcycle lithium battery range to find the most compatible options for your Yamaha Moto 4 or similar ATVs.