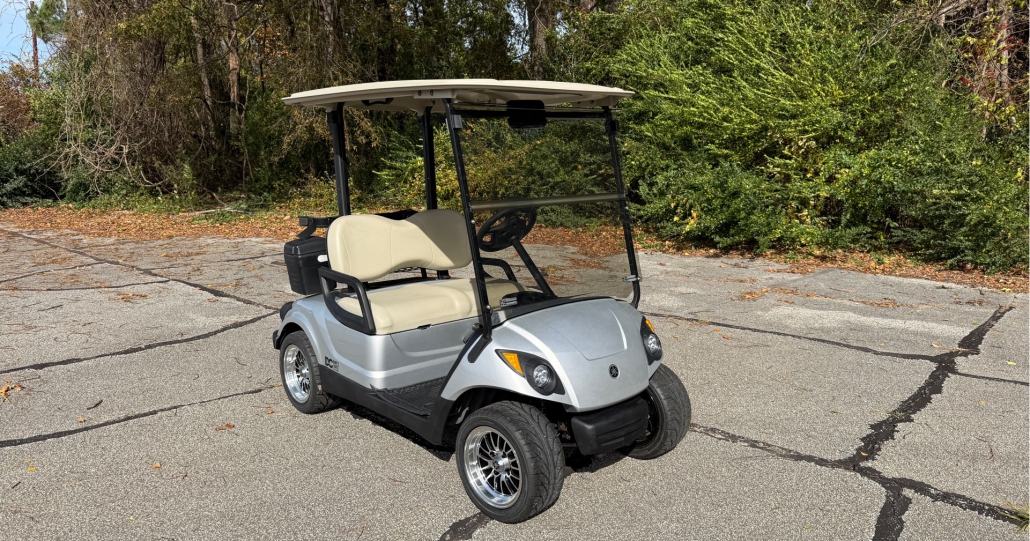
How to Replace Yamaha Golf Cart Batteries: A Step-by-Step Guide for 36V and 48V Systems
Yamaha golf carts are known for reliability and long service life, but like all electric vehicles, their performance heavily depends on battery condition. Over time, batteries lose capacity, require more maintenance, and eventually need replacement.
Whether you’re maintaining a personal golf cart or servicing a commercial fleet, understanding how to replace Yamaha golf cart batteries safely and correctly helps ensure optimal performance, longer system lifespan, and reduced maintenance risks.
How Do You Replace Yamaha Golf Cart Batteries?
Replacing Yamaha golf cart batteries typically involves disconnecting the power system, removing old batteries, installing new ones with correct wiring, and verifying system voltage before operation. The process must be performed carefully to avoid electrical damage or safety hazards.
Basic replacement steps include:
- Turn off the cart and disconnect power.
- Label or photograph existing battery wiring.
- Remove old batteries safely.
- Install new batteries following the correct configuration.
- Test voltage and perform a full charging cycle.
While the steps appear straightforward, proper system identification and safety preparation are essential before beginning replacement.
Identify Your Yamaha Golf Cart Battery System (36V vs 48V)
Before replacing batteries, you must confirm your Yamaha cart’s voltage configuration. Using incorrect battery combinations can damage controllers, chargers, and wiring systems.
Common Yamaha Battery Configurations
| System Voltage | Typical Battery Setup | Number of Batteries |
| 36V | Six 6-volt batteries | 6 |
| 48V | Six 8-volt batteries | 6 |
| 48V | Four 12-volt batteries | 4 |
Battery arrangement varies by Yamaha model and production year, so always verify using:
- Manufacturer manual
- Existing battery labeling
- System voltage measurement
For a deeper understanding of selecting compatible battery configurations, you can review this guide on 48V golf cart battery options:
https://leochlithium.us/batteries-for-48v-golf-cart-how-to-choose-the-right-option-for-performance-range-and-longevity/
Signs It’s Time to Replace Your Yamaha Golf Cart Batteries
Many golf cart owners wait until batteries completely fail before replacing them. However, performance decline usually occurs gradually and may reduce vehicle efficiency long before total failure.
Common warning signs include:
- Reduced driving range
- Slower acceleration or climbing power
- Longer charging times
- Uneven voltage readings between batteries
- Frequent need for watering (lead-acid systems)
- Visible corrosion or swelling
If you’re unsure whether replacement is necessary, this troubleshooting guide explains how to diagnose battery health accurately:
Tools and Safety Precautions Before Battery Replacement
Golf cart battery systems carry significant electrical current. Proper preparation reduces injury risk and prevents system damage.
Required Tools
- Insulated wrench or socket set
- Protective gloves
- Safety glasses
- Terminal cleaning brush
- Voltmeter or multimeter
- Battery lifting strap (recommended)
Safety Preparation
- Park the cart on a flat surface.
- Engage parking brake.
- Turn key switch OFF.
- Set cart direction switch to neutral.
- Disconnect main negative cable first.
- Avoid placing tools across battery terminals.
Lead-acid batteries contain corrosive electrolyte and can release hydrogen gas during charging, so always work in a well-ventilated area.
Step-by-Step: How to Replace Yamaha Golf Cart Batteries
Following a structured process reduces installation errors and wiring mistakes.
Step 1: Document Existing Battery Wiring
Before removing any cables:
- Take multiple photos of battery connections.
- Label cables if necessary.
- Confirm cable routing sequence.
This step helps ensure correct reconnection later.
Step 2: Disconnect Battery Cables
- Remove the main negative cable first.
- Continue disconnecting cables one battery at a time.
- Avoid allowing loose cables to touch terminals.
Step 3: Remove Old Batteries
Golf cart batteries are heavy and should be lifted carefully.
- Use lifting straps when possible.
- Remove hold-down brackets or battery trays.
- Inspect tray condition and clean corrosion.
Step 4: Install New Batteries
Place new batteries into the tray following the original layout.
Important installation tips:
- Match battery voltage and capacity ratings.
- Ensure terminal orientation matches original wiring.
- Secure batteries firmly to prevent vibration damage.
Step 5: Reconnect Battery Wiring
Reconnect cables following your reference photos.
General connection rules:
- Connect positive and negative cables exactly as original configuration.
- Tighten connections securely but avoid overtightening.
- Clean and protect terminals with corrosion inhibitor if available.
Step 6: Verify System Voltage
Before powering the cart:
- Use a voltmeter to confirm total pack voltage.
- Check for loose or warm connections.
- Ensure cables are not pinched or strained.
Step 7: Perform Initial Charging Cycle
After installation:
- Fully charge batteries before first use.
- Monitor charging behavior.
- Confirm normal charger operation.
Common Mistakes to Avoid When Replacing Yamaha Golf Cart Batteries
Battery replacement failures often occur due to simple installation errors.
Mixing Old and New Batteries
Combining batteries with different age or capacity reduces system efficiency and shortens lifespan.
Incorrect Wiring Configuration
Even a single reversed connection can damage electronic components.
Ignoring Charger Compatibility
Different battery chemistries may require different charging profiles.
Poor Terminal Maintenance
Loose or corroded connections can cause voltage drops and overheating.
Can You Upgrade Yamaha Golf Cart Batteries to Lithium?
Many Yamaha owners consider upgrading from traditional lead-acid batteries to lithium systems. Lithium batteries offer several advantages:
- Longer service life
- Reduced maintenance requirements
- Faster charging
- Weight reduction
- More consistent performance output
However, successful upgrades may require:
- Charger compatibility verification
- Battery management system integration
- Space and mounting considerations
- Voltage and controller compatibility review
For a broader comparison of replacement and upgrade options, this overview of golf cart battery supply solutions provides useful selection insights:
When Battery Replacement Becomes a Fleet-Level Decision
If you are replacing batteries for multiple Yamaha golf carts—such as in golf courses, resorts, rental fleets, or dealership inventory—the replacement process often becomes a long-term operational planning task rather than a simple repair job. Factors such as performance consistency, maintenance scheduling, and lifecycle cost management become significantly more important when managing multiple carts.
Organizations responsible for maintaining larger golf cart fleets often evaluate replacement strategies, supplier stability, and bulk procurement planning to reduce long-term operational costs and simplify maintenance logistics. For additional insights into large-scale sourcing considerations, fleet operators may explore procurement strategies outlined here:
https://leochlithium.us/wholesale-golf-cart-batteries-how-to-choose-the-right-batteries-for-bulk-purchasing/
Final Checks After Installing New Yamaha Golf Cart Batteries
Before returning the cart to regular use:
- Confirm all connections are tight.
- Verify pack voltage under load.
- Perform a full charge cycle.
- Test drive the cart at low speed.
- Monitor battery temperature and charging behavior during initial use.
Routine inspection during the first few charging cycles helps identify installation issues early.
Conclusion
Replacing Yamaha golf cart batteries is a manageable maintenance task when performed with proper preparation, safety precautions, and accurate wiring practices. Understanding your cart’s voltage configuration, choosing compatible batteries, and following structured installation steps ensures reliable performance and extended battery life.
Whether maintaining a single personal cart or managing a multi-vehicle fleet, proper battery replacement planning helps reduce downtime, improve operational efficiency, and maximize long-term equipment reliability.