How to Add Water to Golf Cart Batteries: A Step-by-Step Maintenance Guide
Proper maintenance of your golf cart batteries is essential to ensure long life, reliable performance, and safe operation. One critical but often overlooked task is adding water to lead-acid golf cart batteries. This guide provides a comprehensive, step-by-step walkthrough on how to safely and effectively add water to your golf cart batteries, while also touching on why this maintenance is important—and why many users consider lithium batteries as a low-maintenance alternative.
Why Do Golf Cart Batteries Need Water?
Most golf carts use lead-acid deep-cycle batteries that rely on an electrolyte solution made of sulfuric acid and water. Over time, electrolyte levels drop due to evaporation and the chemical reactions during charging and discharging. Maintaining the correct water level ensures:
- Proper battery chemical balance
- Prevention of damage to the lead plates
- Maximized battery capacity and life span
- Safe and efficient charging cycles
Failing to add water or overfilling can cause irreversible battery damage, reduced performance, and safety risks.
What You Will Need Before Adding Water
- Distilled water (never use tap or mineral water, which can harm the battery)
- Protective gear: rubber gloves, safety goggles, and old clothing
- A clean funnel or battery watering wand for controlled pouring
- A flashlight (to check water levels in dim areas)
- Clean cloth or paper towels for cleanup
Step-by-Step Guide: How to Add Water to Golf Cart Batteries
Step 1: Safety First
Before starting, turn off the golf cart and disconnect the batteries to prevent any electrical hazards. Work in a well-ventilated area away from open flames or sparks, since batteries emit flammable gases.
Step 2: Remove Battery Caps or Covers
Lead-acid golf cart batteries have removable vent caps or sealed plugs on each cell. Carefully remove these caps with a screwdriver or your fingers, setting them aside safely.
Step 3: Inspect the Electrolyte Levels
Use a flashlight to look inside each battery cell. The electrolyte should cover the lead plates inside by about 1/4 to 1/2 inch (6–12 mm). If you can’t see the plates or the electrolyte level is below the recommended mark, it’s time to add water.
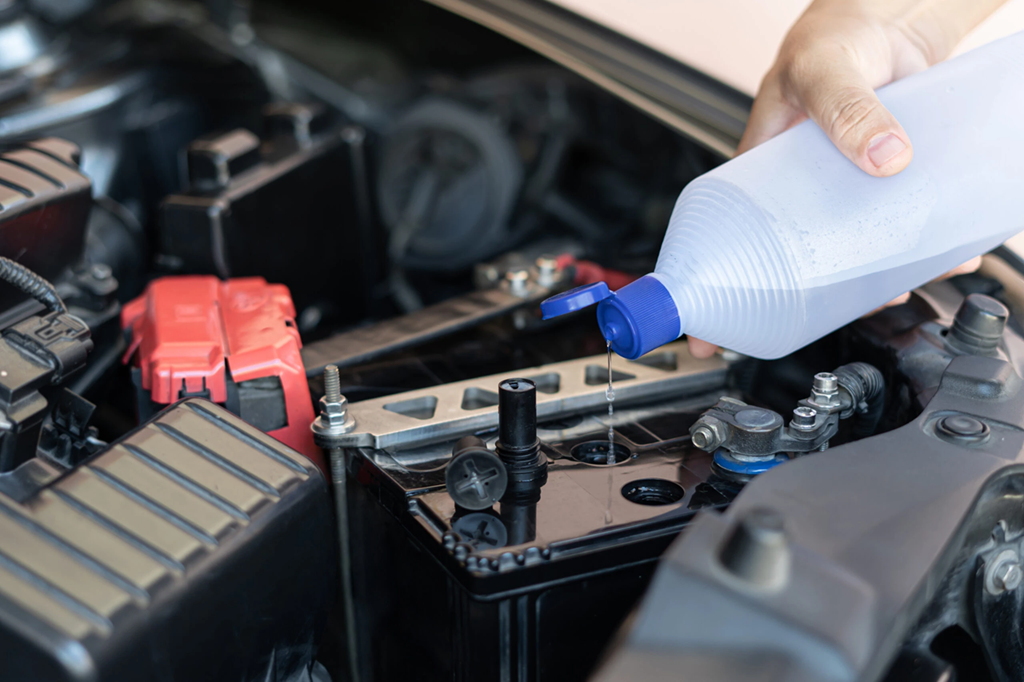
Step 4: Add Distilled Water
Using your funnel or watering wand, slowly pour distilled water into each cell until the electrolyte reaches the recommended level. Avoid overfilling; do not exceed the bottom of the vent well or overflow tube to prevent spillage during charging.
Step 5: Replace the Caps
Once all cells are properly filled, securely replace the vent caps to seal the battery.
Step 6: Clean the Battery Surface
Wipe off any spilled electrolyte or water from the battery surface with a clean cloth to prevent corrosion.
Step 7: Reconnect and Test
Reconnect the battery terminals and perform a normal charge cycle. Regularly check the water level, especially during hot weather or heavy use periods, as evaporation rates increase.
What Happens If You Forget to Add Water to Your Lead-Acid Battery? How to Fix It
Neglecting to add water to your lead-acid golf cart battery can have serious consequences. When the electrolyte level drops too low, the lead plates inside the battery may become exposed to air, leading to plate sulfation, reduced chemical reaction efficiency, and ultimately permanent capacity loss. This not only shortens the battery’s lifespan but also can cause the battery to fail unexpectedly.
If you realize you have forgotten to add water for some time, don’t panic. Here’s how you can try to mitigate the damage:
- Inspect the Battery Immediately: Check all cells for low electrolyte levels or visible damage.
- Carefully Add Distilled Water: Bring the electrolyte level back to the recommended range, but avoid overfilling.
- Perform a Controlled Charge Cycle: Use a charger with an equalization mode if available, which can help desulfate plates by applying a slightly higher voltage.
- Monitor Battery Performance: Keep an eye on voltage, runtime, and temperature over the next few charge/discharge cycles to assess recovery.
- Plan for Replacement: If performance does not improve or deteriorates rapidly, replacement is likely necessary.
Preventing this situation with regular maintenance is best, but understanding the possible recovery steps can help you extend battery life if neglect occurs.
Important Tips and Common Mistakes to Avoid
- Only add water after charging. Electrolyte expands during charging, so adding water before charging can cause overflow.
- Never use tap water; minerals and impurities can damage battery plates.
- Do not overfill the cells; overfilling can dilute the electrolyte and cause acid to spill.
- Regularly inspect batteries at least once a month, especially in warm climates.
- Avoid letting batteries fully discharge, which accelerates water loss and shortens battery life.
The Reality of Lead-Acid Battery Maintenance and a Brief Look at Lithium
Maintaining correct water levels is just one part of the regular upkeep required for lead-acid golf cart batteries—others include equalizing charges, cleaning terminals, and careful handling of corrosive acid. These tasks, while manageable, can be time-consuming and sometimes risky for casual users.
This is why many golfers and fleet operators are transitioning to lithium batteries, which require minimal maintenance, no watering, and offer longer lifespans—though that’s a topic for another article.
Conclusion
Adding water to your golf cart batteries is a vital maintenance step that prolongs battery life and ensures reliable performance on the course. By following these safety-focused, detailed instructions and regularly monitoring your battery’s condition, you can avoid costly replacements and enjoy trouble-free operation.
Remember, always prioritize safety when working with batteries and consider the maintenance trade-offs when selecting your golf cart’s power system.